What you’ll learn
- Which image-sequence formats DaCaPo supports.
- How to select and import a numbered image sequence.
- How to verify that DaCaPo detected the correct frames.
- How to choose the correct sequence frame rate.
- How to create an OV or transcode replacement MXF assets.
- How to configure and review the DCP conversion settings.
- How DaCaPo handles audio when the source is an image sequence.
Supported image-sequence formats
DaCaPo supports numbered sequences using the following image formats:
- DPX
- TIFF
- PNG
- JPEG
Image sequences are commonly used for mastering because every frame is stored as an individual image rather than inside a compressed video container.
The files should use a consistent naming pattern with a changing frame number, for example:
film_000001.dpx
film_000002.dpx
film_000003.dpx
film_000004.dpxOpen the Media tab
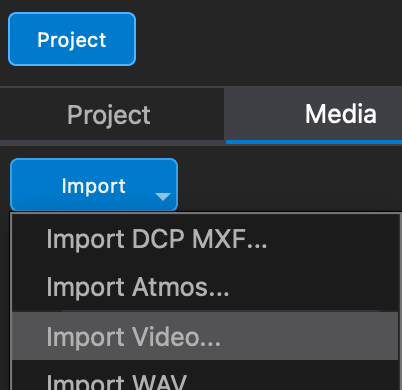
Open the Media tab in the Project Panel.
Click Import, then choose Import Video…. The same command is used for video files and numbered image sequences.
Select one image from the sequence
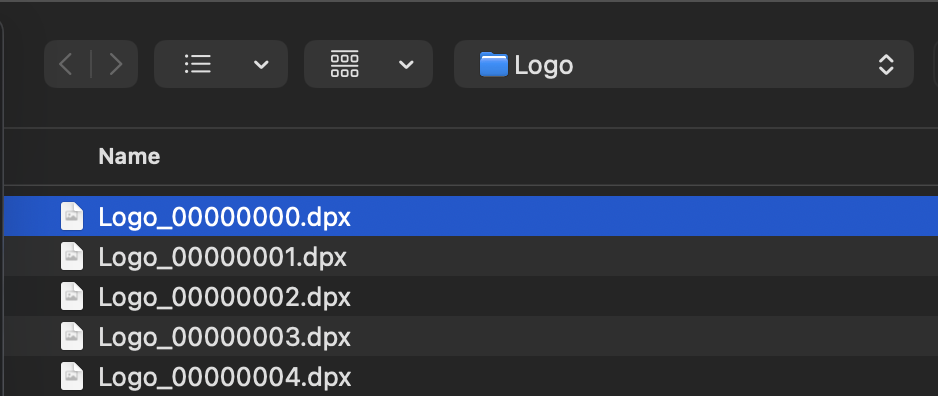
Navigate to the folder containing the numbered images and select one frame from the sequence.
DaCaPo analyses the filename and automatically detects the other images that belong to the same numbered sequence.
Verify the detected sequence
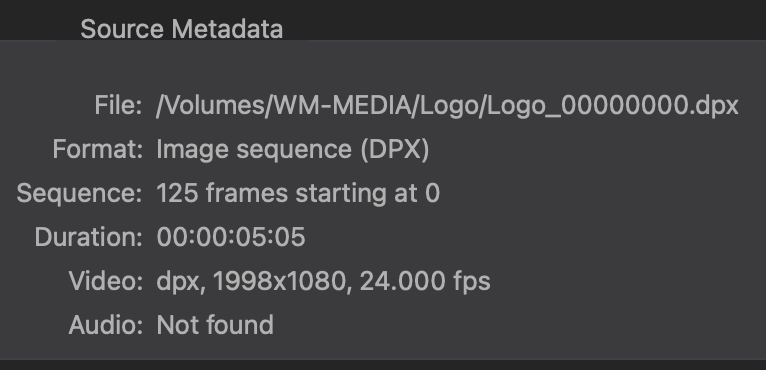
After the sequence has been detected, review the source information shown in the Import Video window.
Confirm that DaCaPo has identified:
- The correct first frame
- The correct last frame
- The expected number of images
- The correct source resolution
If the detected range is shorter than expected, check the folder for missing frames, inconsistent numbering, or files that use a different extension or filename pattern.
Choose the sequence frame rate
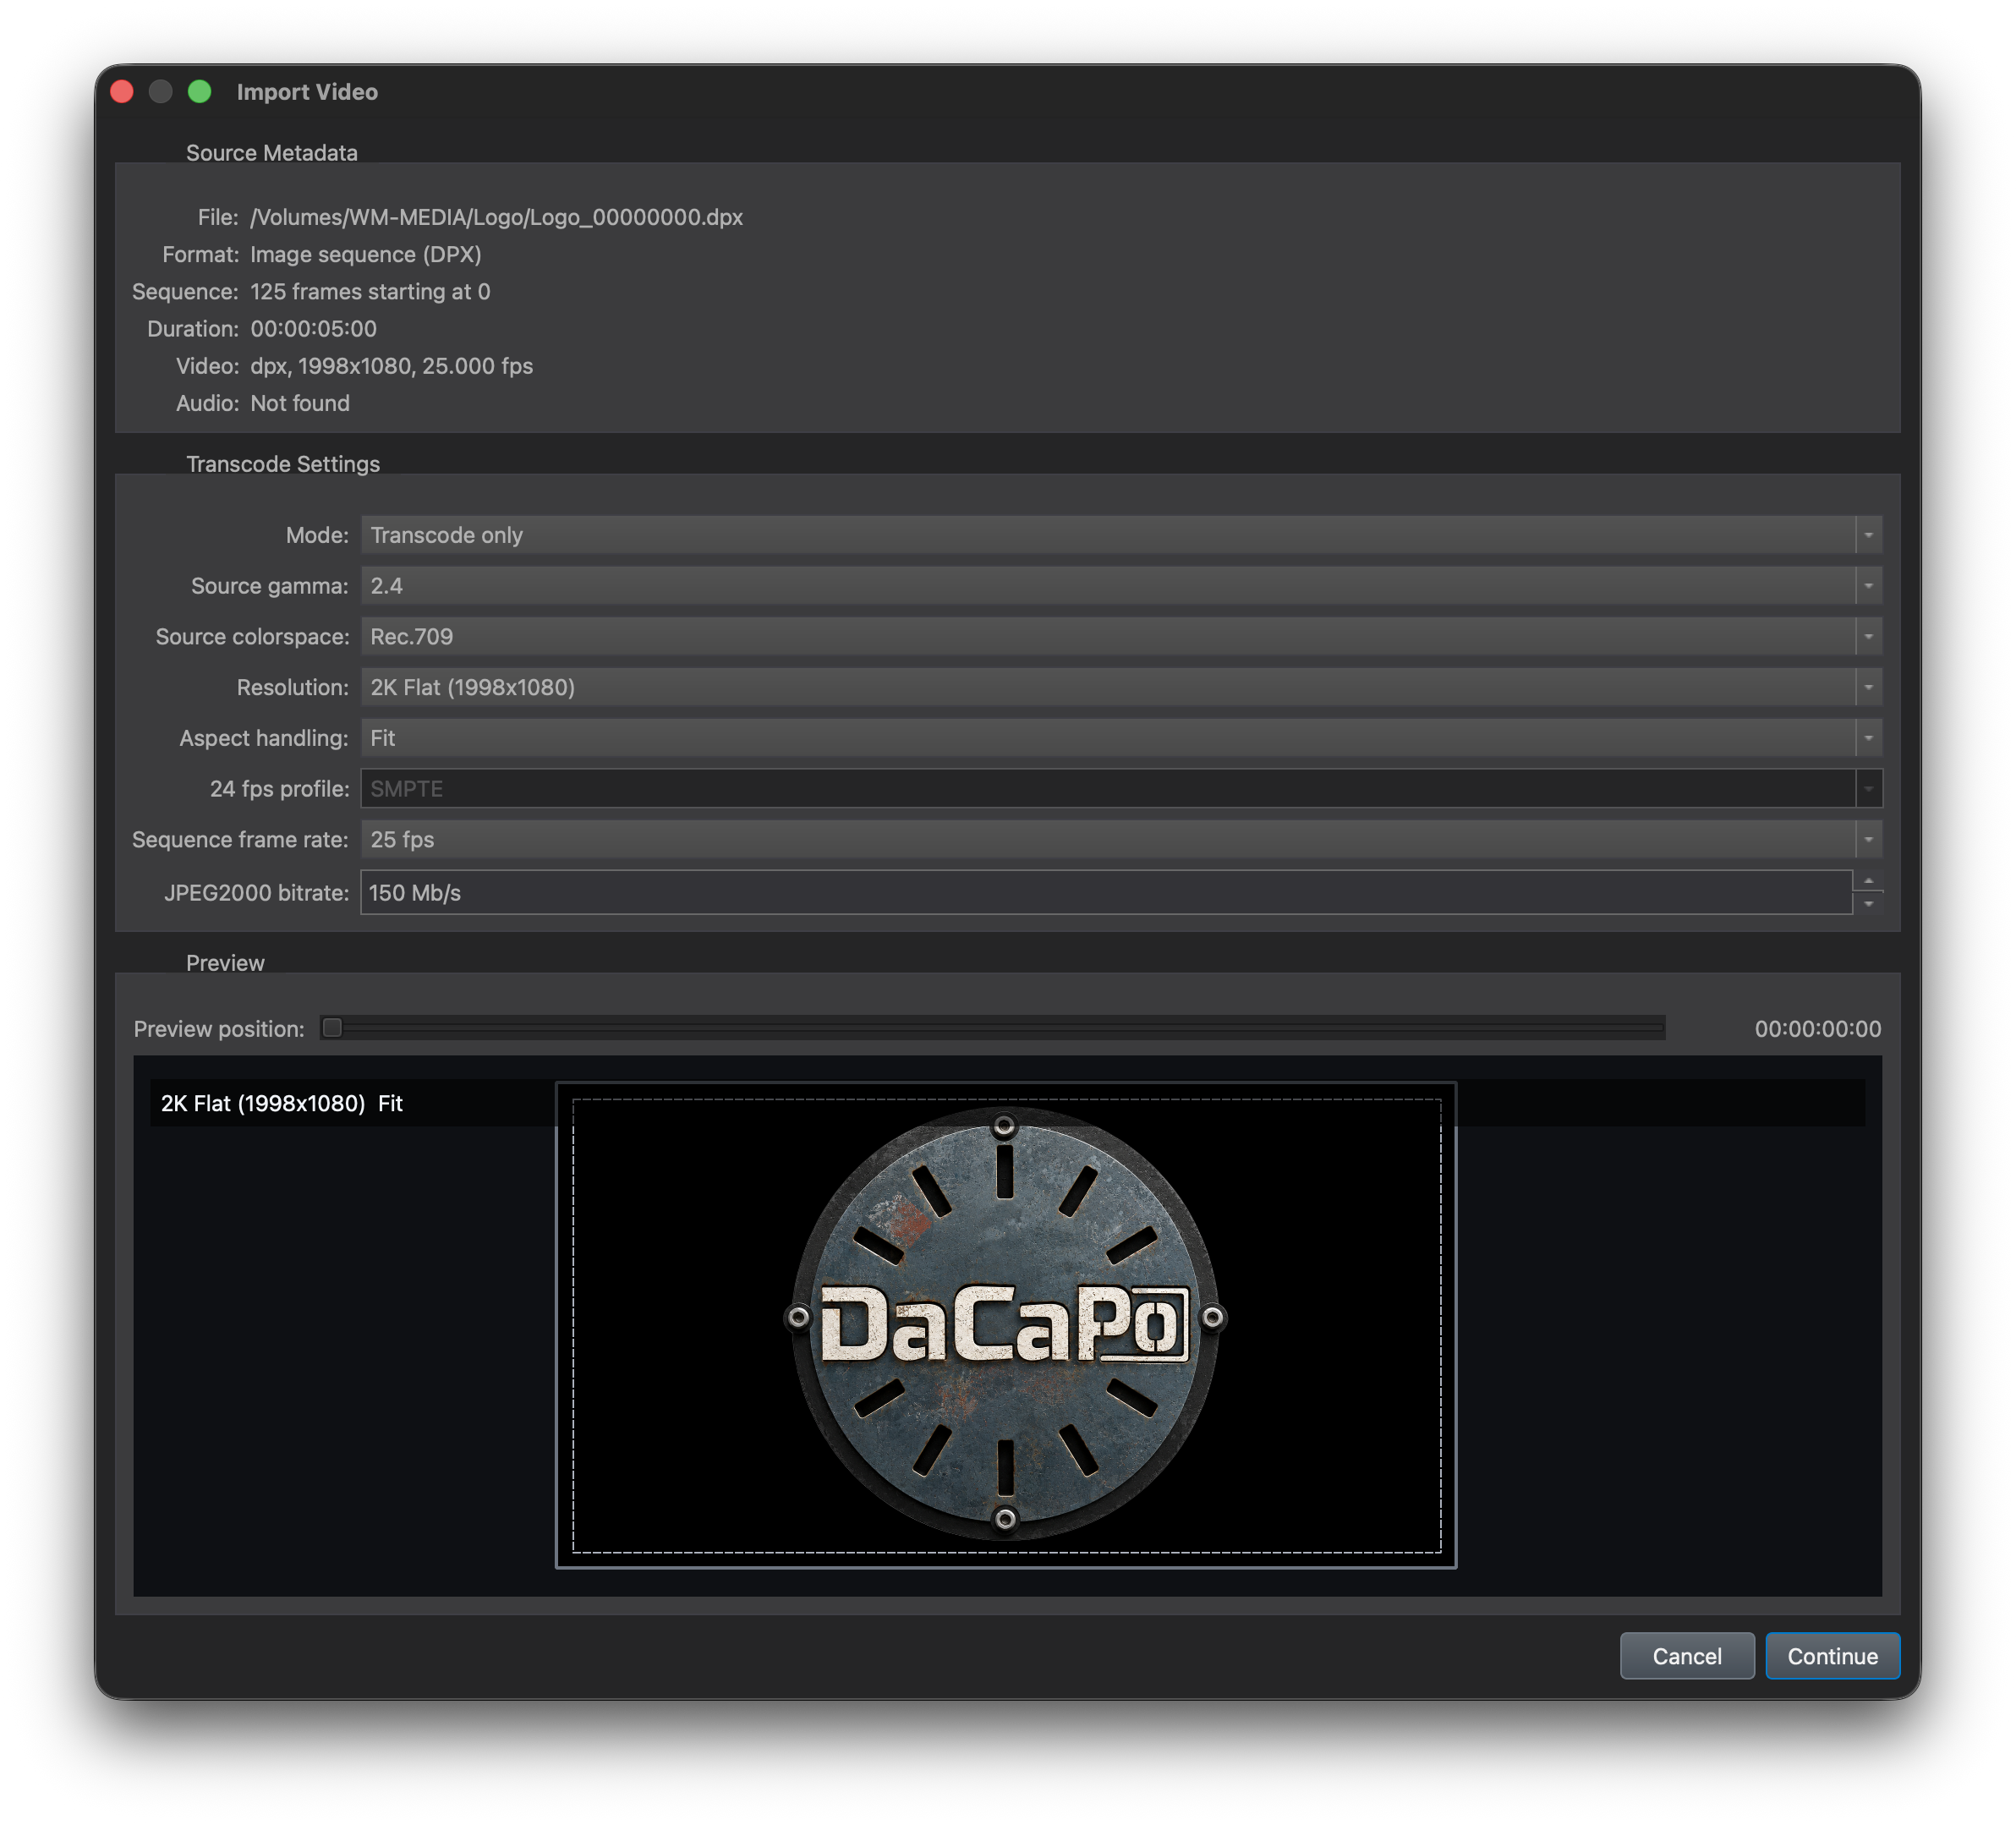
Individual images do not contain a playback frame rate. You must therefore select the frame rate that the sequence was created for.
Choose the correct value in the frame-rate control before starting the conversion.
Choose Create OV or Transcode Only
In the Mode menu, choose one of the following:
- Create OV creates a complete standalone Original Version DCP.
- Transcode Only creates picture and audio MXF assets without creating a complete DCP package.
For a new cinema delivery made directly from the image sequence, choose Create OV.
Use Transcode Only when preparing replacement assets for an existing DCP workflow.
Configure the source and DCP settings
Review and configure:
- Source Gamma
- Source Colour Space
- DCP resolution
- Fit or Crop
- SMPTE or IOP profile
- JPEG2000 bitrate
These settings work in the same way as they do when importing a video file.
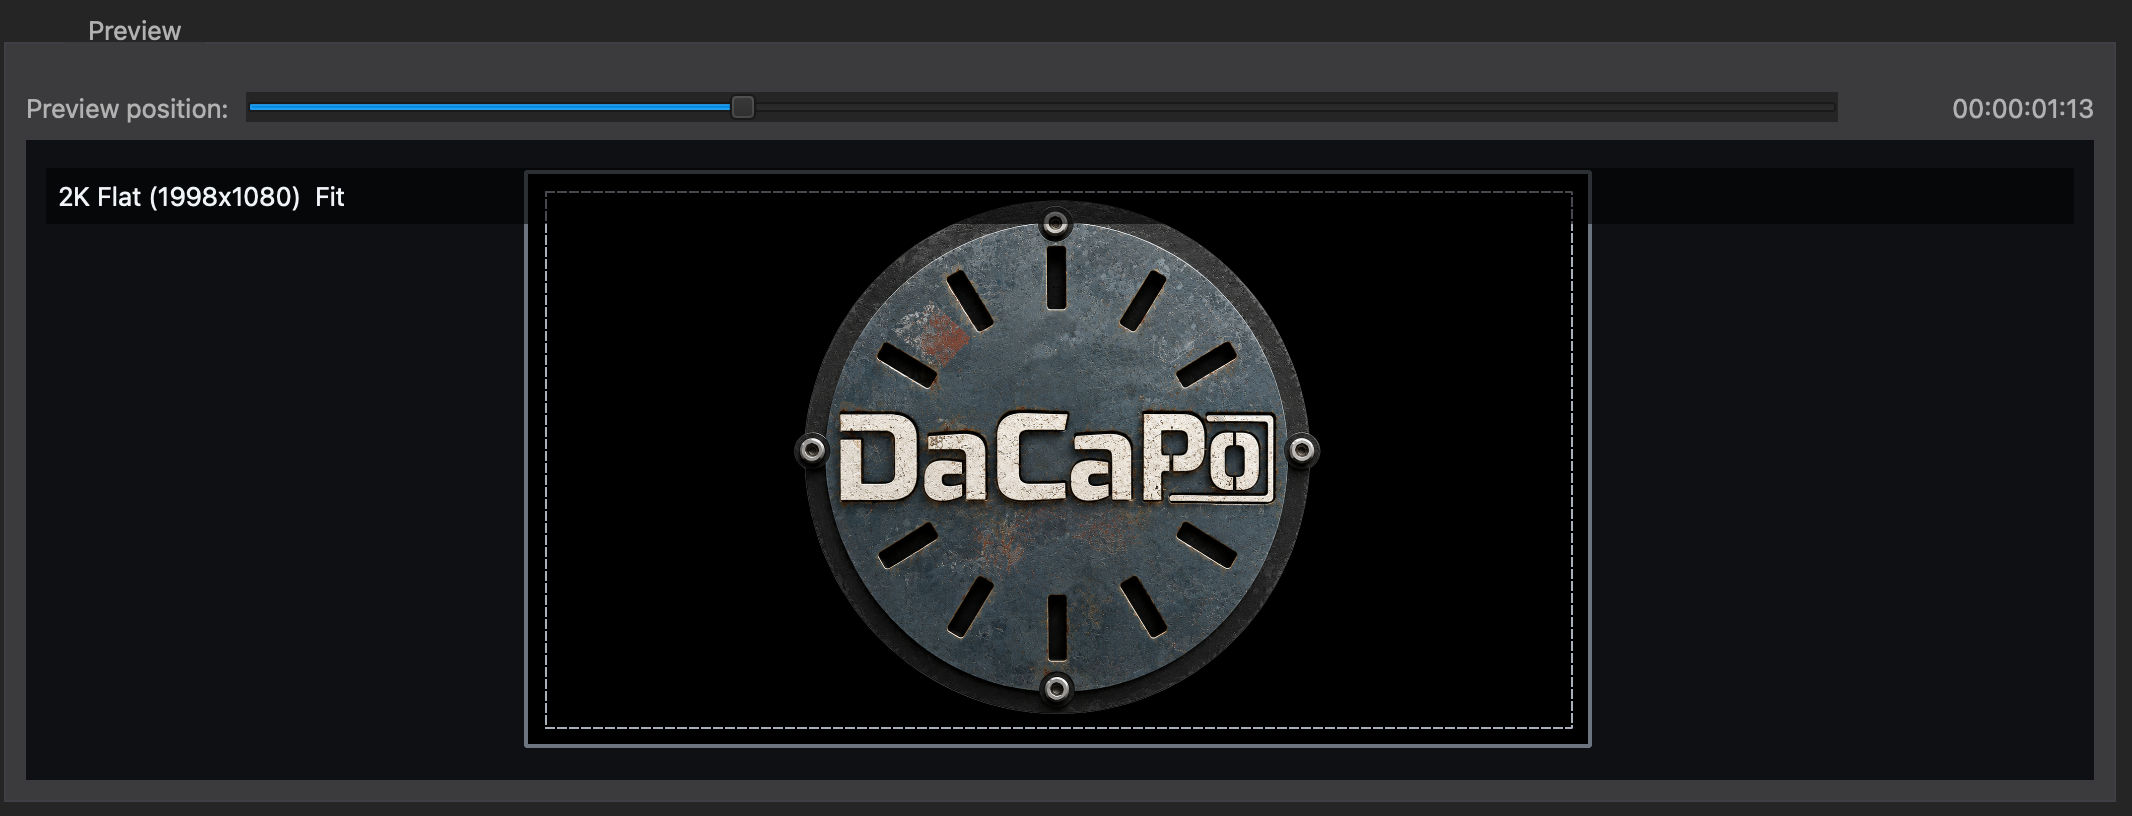
Review the preview
Inspect representative frames using the preview-position control.
Check that:
- The sequence is in the correct order.
- The Flat or Scope output format is correct.
- Fit or Crop produces the intended framing.
- No important picture information is removed.
- The source gamma and colour-space interpretation looks plausible.
Review frames from different parts of the sequence rather than checking only the first image.
Choose the destination and name the DCP
Click Continue after reviewing the sequence and import settings.
Choose the folder where the new DCP should be created.
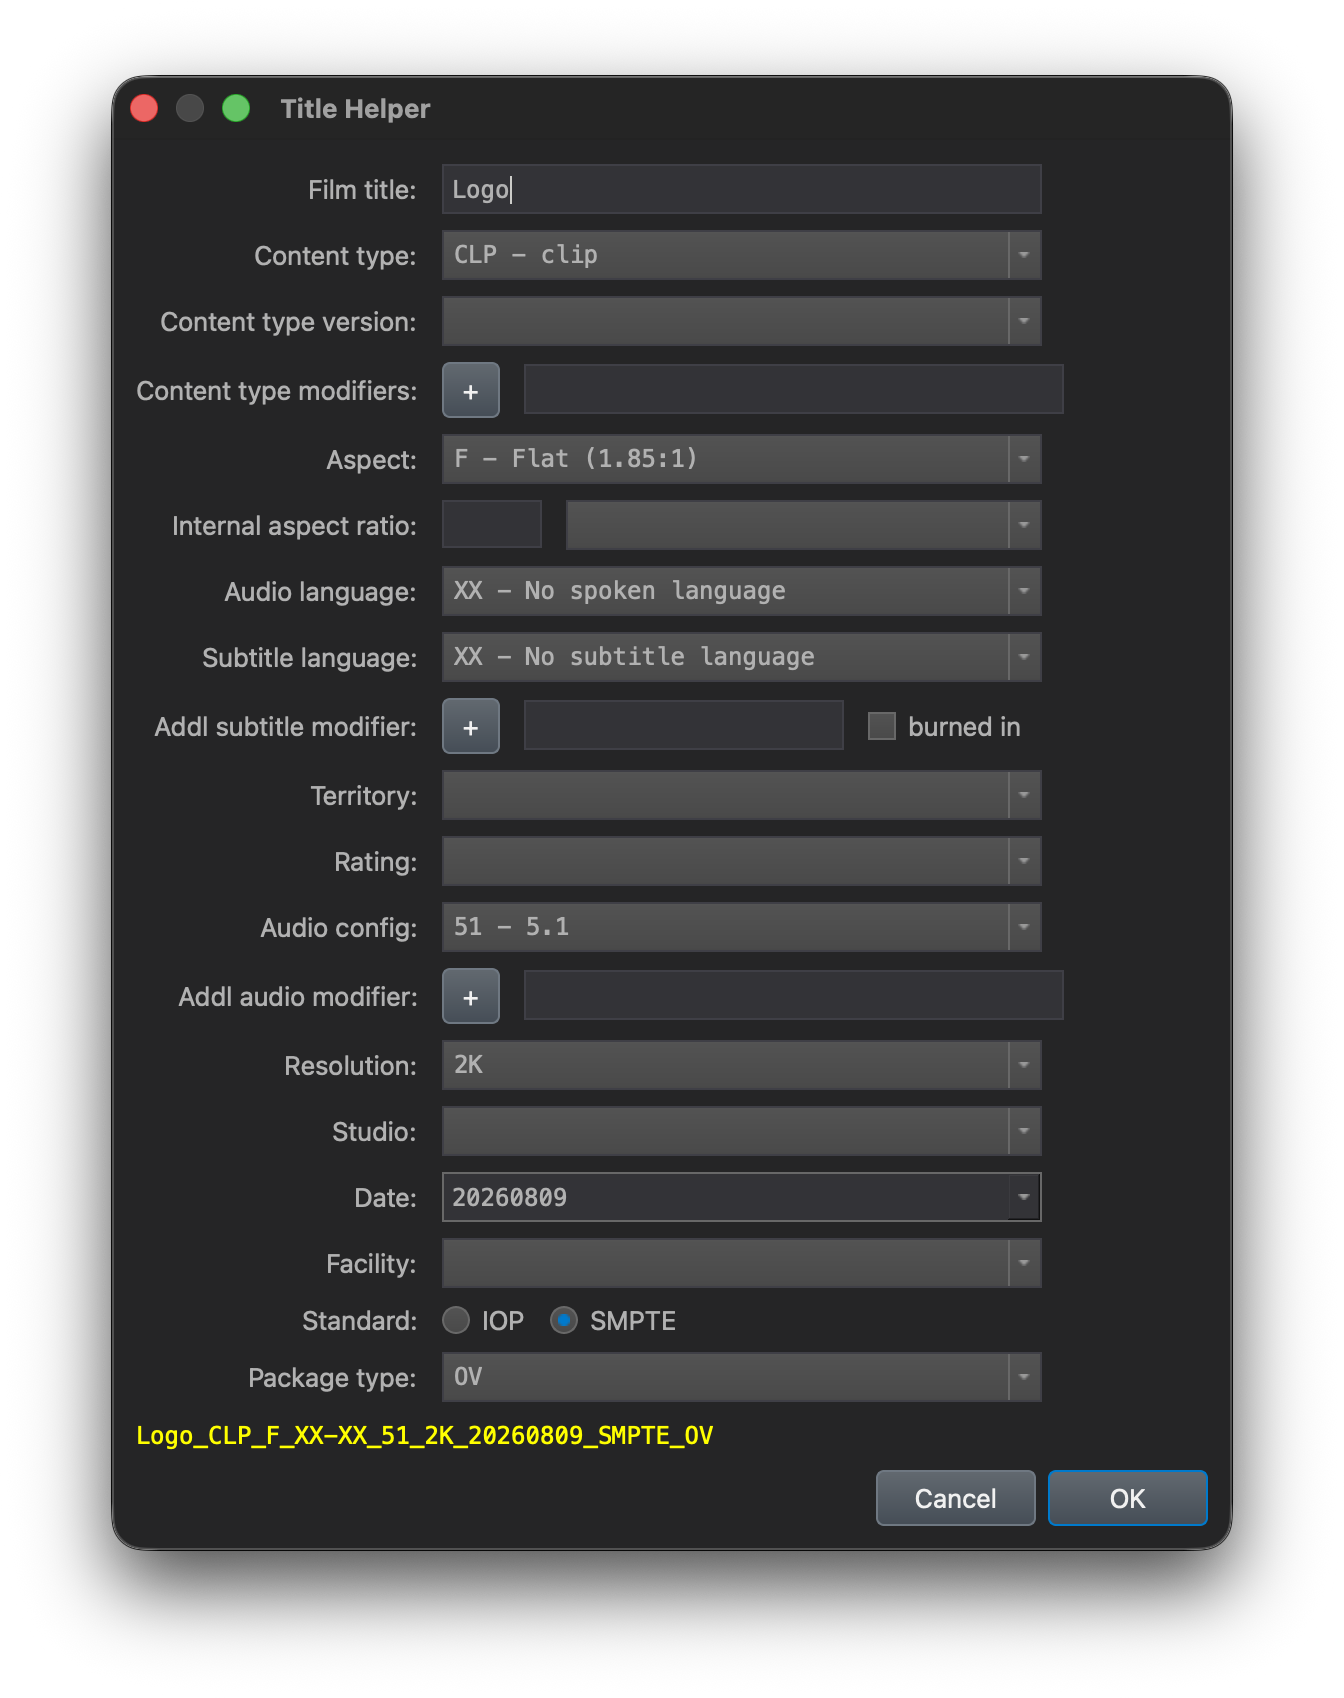
The Title Helper then opens and generates an ISDCF-compliant package name automatically.
Select the appropriate content type, aspect ratio, audio configuration, resolution, and other metadata. Some fields may already be filled in from the import settings.
The generated package name updates live as you edit the fields.
When the name and metadata are correct, click OK to begin the JPEG2000 conversion and DCP creation.
What happens to the audio?
An image sequence contains picture frames only and does not include an audio track.
When Create OV is used, DaCaPo automatically creates a silent audio MXF for the duration of the image sequence.
This allows the new OV to contain a valid DCP audio asset without requiring audio to be selected during image-sequence import.
Verify the completed DCP
After creation, DaCaPo loads the new DCP into the project.
Review the timeline and verify the package before delivery or exhibition. Verification checks the package structure, metadata, assets, hashes, and composition information.
Common problems
DaCaPo detects only one image
Check that the filenames contain a consistent numeric frame counter and that the sequence files use the same filename pattern and extension.
The detected frame count is wrong
Check for missing frames, duplicate frame numbers, or a change in the filename pattern partway through the sequence.
The DCP has the wrong duration
Confirm that the correct sequence frame rate was selected before transcoding.
The picture is cropped incorrectly
Confirm the selected Flat or Scope format and compare the Fit and Crop options.
The image appears too dark or washed out
Confirm that Source Gamma and Source Colour Space match the actual source images.